"Dialing in" is the unglamorous part of espresso: pull a shot, taste it, change one thing, pull another. It is also where most of the flavor is won or lost. The Specialty Coffee Association describes the job as adjusting dose, grind and extraction methodically until the best flavor shows up, a practice that traces back to food scientist Ernest Lockhart, whose 1950s work tied coffee quality to two measurable numbers: strength (total dissolved solids, or TDS) and extraction (the share of the dry coffee that ends up in the cup) [3].
You don't need a refractometer to use that idea. You need a scale, a timer, a grinder that adjusts in small steps, and a plan. Here is ours.
What you need before the first shot
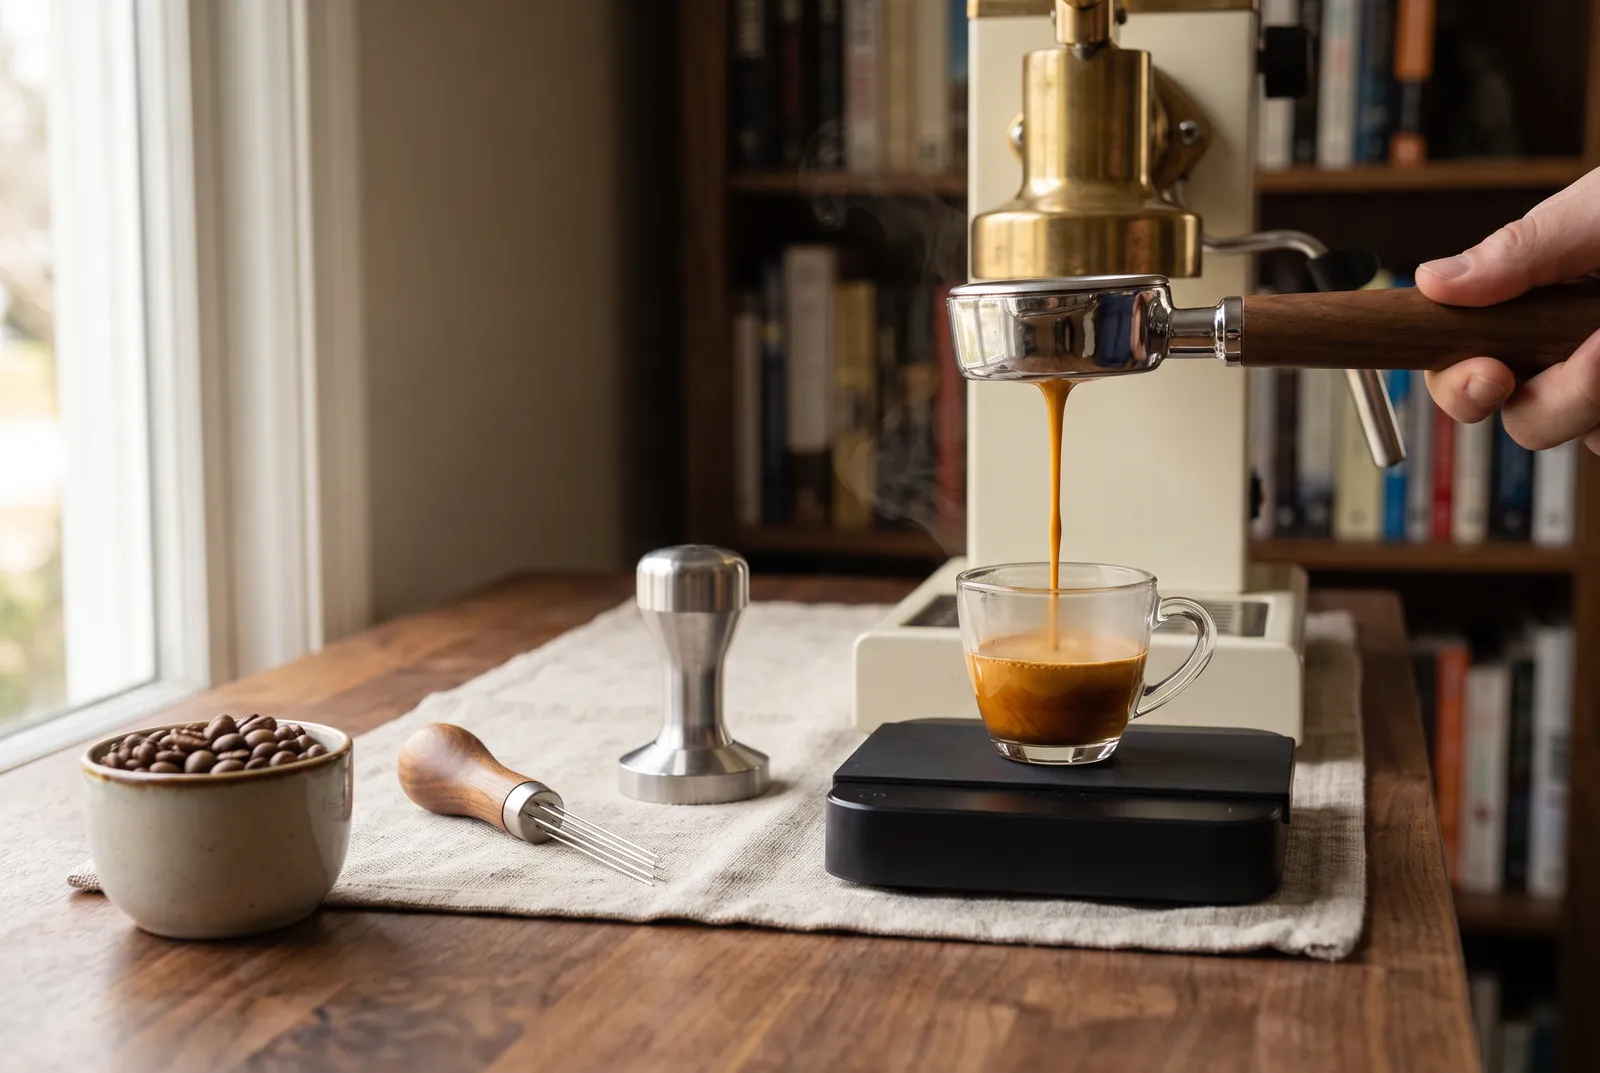
- A scale that reads to 0.1 g, ideally slim enough to fit under the portafilter. Weighing both the dose and the drink is what makes everything else in this guide work. See our picks in kettles and scales.
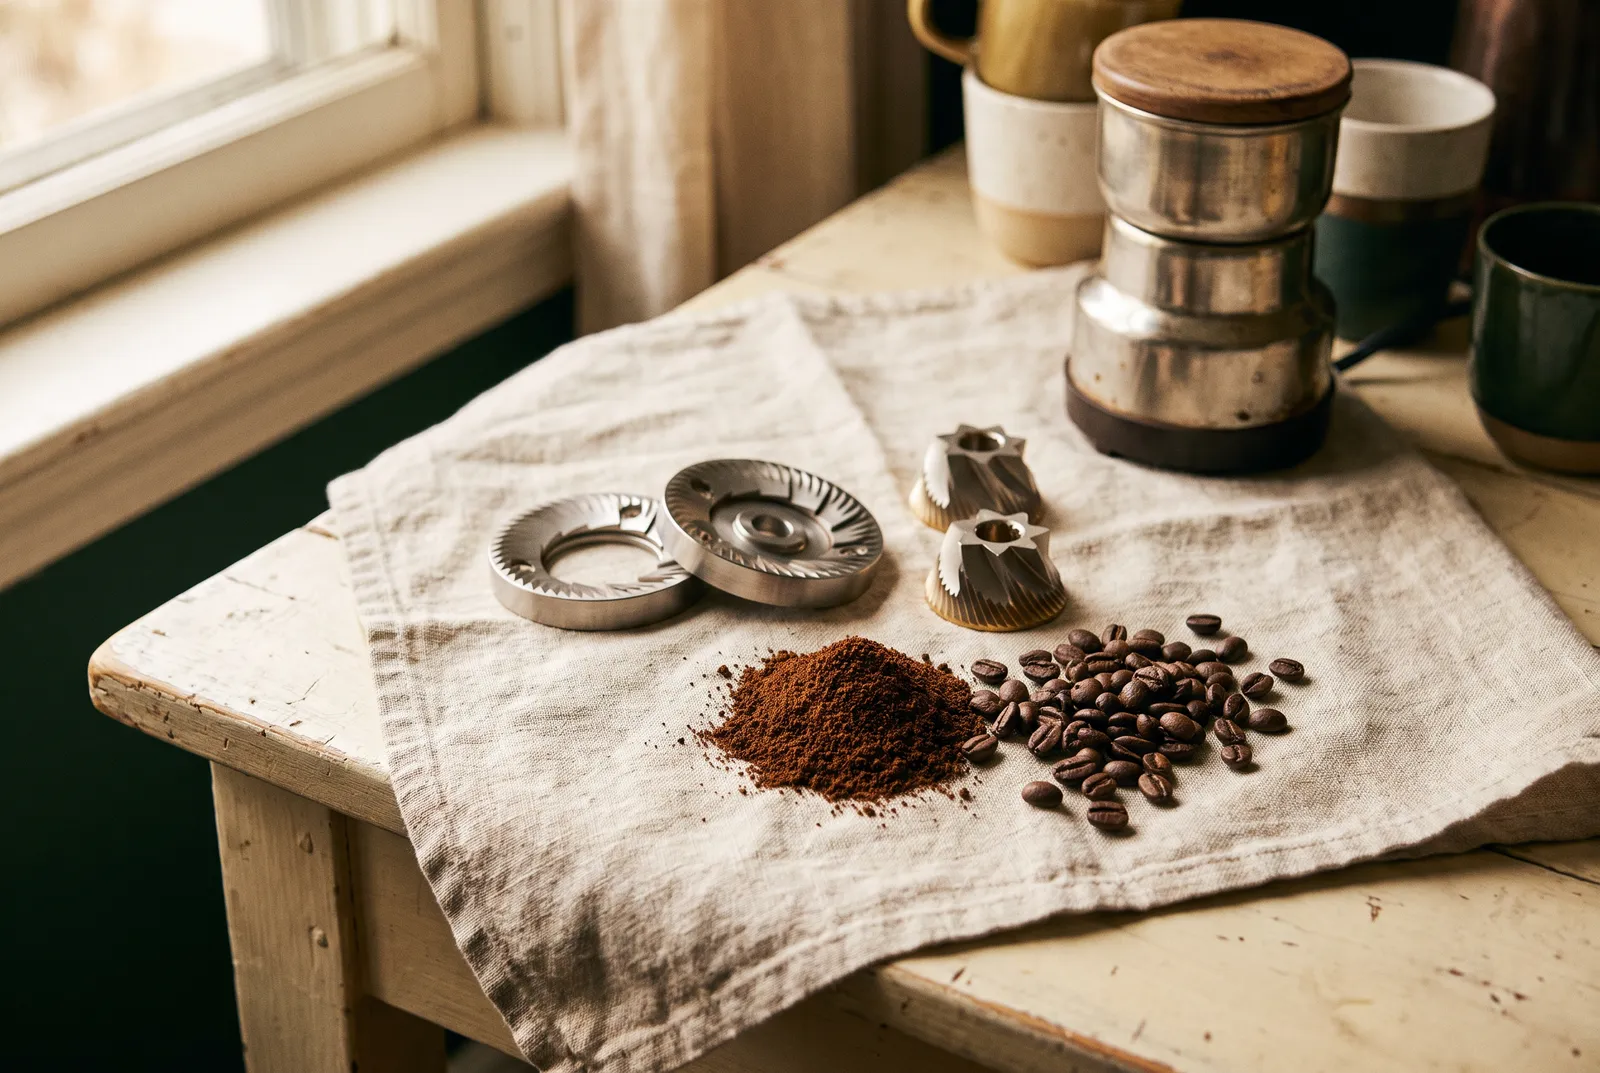
- A burr grinder with fine adjustment. Espresso is unforgiving, and tiny grind changes move shot time by seconds. Our grinder category breaks down the options.
- Fresh whole beans. "Espresso roast" on the bag is optional; any coffee you enjoy can be dialed in. Browse whole bean coffee.
- A place to take notes. Record dose, yield, time, grind setting and one line on taste for every shot.
The four numbers that define a shot
Dose: what goes in
Dose is the weight of dry ground coffee in the basket. Baratza's espresso guide starts at 18 g [1]. If your basket is stamped or sold for a different amount, start there instead. Then leave the dose alone while you dial in, because changing it alters headspace, flow and strength all at once.
Yield and ratio: what comes out
Yield is the weight of liquid espresso in the cup. Measure it in grams rather than milliliters, since foamy crema makes volume readings unreliable. Divide yield by dose and you have your brew ratio.
The modern starting point is 1:2: 18 g in, 36 g out. That is the recipe in Baratza's guide [1], and the National Coffee Association describes espresso the same way, one gram of dry coffee to two grams of brewed espresso [2]. Tighter ratios (around 1:1.5) give denser, more intense shots. Longer ones (1:2.5 to 1:3) lower strength while pushing extraction up, which on the classic brewing chart is the corner associated with lighter, tea-like flavors [3].
For context, one 2020 study of brewing temperature used a classic Italian-style recipe of 7 g of coffee for 25 g of espresso in about 25 seconds [5], roughly a 1:3.5 ratio. Neither style is wrong. They are different drinks.
Time: a diagnostic, not a target
Start the timer when you start the pump. Baratza aims for 25 to 32 seconds [1]; the NCA cites 20 to 30 seconds of contact [2]. Use time as a clue about grind and flow rather than a goal. A delicious 34-second shot is still delicious.
Yield deserves more attention than the clock. In a 2023 study on a pressure-profiling machine, flow rate had the strongest effect on how much caffeine, trigonelline, chlorogenic acid and total solids reached the cup, and stopping a shot at 38 g instead of 40 g shifted chlorogenic acid concentration about as much as halving the flow rate [4]. A couple of grams matters, so weigh every shot.
| Our starting point | Classic Italian-style reference | |
|---|---|---|
| Dose | 18 g (or your basket's rated dose) | 7 ± 0.5 g [5] |
| Yield | 36 g | 25 ± 2.5 g [5] |
| Ratio | 1:2 | About 1:3.5 |
| Time | 25–32 s [1] | 25 ± 5 s [5] |
| Water temperature | Your machine's default, adjusted last | 88 ± 2 °C suggested by Italy's espresso institute [5] |
Tip: Change exactly one variable per shot and write it down. Two changes at once make it impossible to tell which one helped.
Step by step: dialing in a new bag
- Warm everything up. Let the machine reach temperature and run a little water through the group head with the portafilter locked in so the metal is hot.
- Dose and prep. Weigh your dose, then prepare the puck the same way every time (see "Puck prep basics" below).
- Pull to your target yield. Stop at 36 g for an 18 g dose and note the time.
- Adjust the grind, not the dose. If the shot ran fast and tastes sour or thin, grind finer. If it ran slow and tastes bitter or harsh, grind coarser [1]. Move in the smallest increments your grinder allows and keep the dose constant [1].
- Taste once the timing lands in the window. Now flavor drives the decisions. Use the table below.
- Fine-tune with yield. Try 2 to 4 g more or less in the cup before touching anything else.
- Adjust temperature last, in steps of 1 to 2 °C, if your machine allows it.
Taste-based troubleshooting
Underextracted espresso tends to taste sour, salty and thin because the water has not yet dissolved enough of the sweeter, heavier compounds. Overextracted shots lean bitter, harsh and drying. Strength plays its own role: SCA notes that coffees with higher TDS tend to taste more bitter, and that roasting is one of the biggest sources of bitter compounds in the first place [10]. UC Davis research summarized by SCA maps the territory for brewed coffee: sweetness peaks at low strength and low extraction, bitterness at high strength and high extraction, berry and citrus notes at high strength and low extraction [3]. It is a useful mental model for espresso, too.
| What you taste | Likely cause | First move | Then try |
|---|---|---|---|
| Sour, sharp, thin; shot ran fast | Underextraction | Grind finer [1] | Pull 2–4 g longer |
| Bitter, harsh, drying; shot ran slow | Overextraction | Grind coarser [1] | Lower temperature 1–2 °C |
| Intense and bitter-leaning, time looks normal | Very high strength | Pull a longer ratio, such as 1:2.3 | Coarsen one step |
| Sour and bitter at once; spurts or pale streaks | Channeling (uneven flow) | Improve distribution and tamp [1][7] | Check basket fill and level |
| Watery and hollow | Grind too coarse or ratio too long | Grind finer | Shorten the ratio |
Baratza is blunt about the sour-and-bitter row: channeling is usually a puck prep problem rather than a grinder problem, and a bottomless portafilter makes it easy to see [1].
Temperature and pressure: second-order knobs
Water temperature matters less than most people expect. In a blind triangle test with 24 tasters, only 11 picked the odd cup when comparing espresso brewed at 80 °C and 93 °C, short of the 13 needed for significance; tasters could tell 80 °C from 128 °C, describing the hotter shots as stronger, more bitter and more acidic [5]. The same paper notes that published recommendations range from 88 ± 2 °C (Italy's espresso institute) to 90 ± 5 °C (Illy and Viani), and its authors advise against brewing above 93 °C [5]. The 2023 extraction study found no measurable kinetic effect of temperature between 80 °C and 98 °C on caffeine, trigonelline, chlorogenic acid or total solids, and called temperature effects minor next to changes in total shot weight [4].
So leave temperature at your machine's default while you dial in grind and yield. Many baristas then run light roasts a little hotter and dark roasts a little cooler; treat that as a tasting experiment rather than a rule.
Pressure is a different story, and the classic 9 bar holds up. Spanish researchers comparing espresso brewed at 7, 9 and 11 atmospheres found that 9 atmospheres (close to 9 bar) produced the most consistent foam and the highest share of key aromas linked to freshness and fruity, malty and buttery flavors [6]. If your machine lets you set pump pressure, 9 bar is the evidence-backed default.
Puck prep basics
Every shot is water looking for the easiest path through a bed of coffee. Puck prep is about making every path equally hard.
Distribution and WDT
The Weiss Distribution Technique (WDT) means stirring the grounds in the basket with fine needles to break up clumps and even out density. Depth matters. Astrophysicist and coffee researcher Jonathan Gagné logged 24 shots on a flow-measuring machine and found that stirring only the top third of the puck left peak puck resistance varying by about 40%, while stirring at full depth narrowed that spread. A dry paper filter on top of the puck raised resistance by about 7% without clearly improving repeatability [7].
How to do it: grind into the basket or a dosing cup, stir in small circles all the way to the floor of the basket for several seconds, then settle the bed with a gentle tap before tamping.
Tamping
Tamp level and firmly enough that the bed stops compressing. Consistency and a flat surface matter more than chasing a specific force; a tilted tamp hands water a shortcut down the shallow side.
Static, clumps and the water trick
Grinding charges coffee particles with static, which makes them clump, cling to the grinder and spray across the counter. In a 2024 study, adding a small amount of water to the whole beans before grinding cut charge substantially, and at 10 microliters per gram the share of grounds retained in the grinder fell from about 12% to about 2.5%. For dark roasts, the treated grounds produced espresso at least 15% more concentrated; light roasts showed no significant change [9]. For an 18 g dose, 10 microliters per gram works out to 0.18 mL, a light mist or a few drops stirred into the beans. Check your grinder's manual before adding water.
Don't fear fines
Fines, the dust-sized particles every grinder makes, get blamed for a lot. A 2024 study found that adding fines lowered the permeability of the coffee bed, slowing flow and lengthening the shot, but did not change the extraction mechanism itself; extraction yield tracked shot time along a common curve. Shots with added fines were among the highest scoring, and the sensory optimum sat around 30 seconds and 19 to 20% extraction [8]. In practice, when you grind finer you are mostly adding fines and slowing the flow, which is exactly why grind is the main lever for timing.
When the shot is dialed
Write down the final recipe: dose, yield, time, grind setting, temperature and a few tasting words. Expect to revisit it with each new bag and to nudge the grinder a step as the beans age. Milk drinks can tolerate a slightly stronger, shorter shot; straight espresso often shines at a longer ratio. The method stays the same either way.
Bottom line: Lock the dose, pull 1:2, and let taste tell you which way to move the grinder. Fix sour-and-bitter shots with better distribution, not more grind changes, and leave temperature for last.
For more on how we evaluate the beans and gear mentioned here, see how we score, or explore the full directory of espresso machines.
FAQ
Why does my espresso taste sour and bitter at the same time?
That combination usually means water found an easy path through part of the puck, overextracting that channel while the rest stayed underextracted. Grinding coarser or finer will not fix it. Improve distribution instead: stir the grounds at full depth with a WDT tool, tamp level, and check that the basket is not overfilled. A bottomless portafilter makes channels easy to spot as spurts or pale streaks.
Should I change the dose or the grind first?
Change the grind. Dose is tied to your basket size, and moving it changes headspace, flow and strength all at once, which makes results hard to read. Keep the dose fixed, adjust grind until the shot runs in roughly 25 to 32 seconds at a 1:2 ratio, then fine-tune flavor with small yield changes. Leave temperature until last.
Do I really need a scale for espresso?
Yes, if you want repeatable shots. Volume markings on shot glasses are thrown off by crema, and a difference of a couple of grams in the cup measurably changes concentration. A scale that reads to 0.1 gram and fits under the portafilter lets you control dose and yield precisely, which is the foundation for every other adjustment in this guide.
How often will I need to re-dial?
Expect to adjust with every new bag, because roast level, origin and freshness all change how a coffee grinds and flows. Within a bag, small corrections are normal as the beans age over a few weeks. Keep notes on dose, yield, time, grind setting and taste so each correction is one or two grinder steps rather than starting from scratch.
References
- [1]Dialing in Espresso: Burr Types, Adjustments, and Troubleshooting — Baratza
- [2]Espresso — National Coffee Association
- [3]Coffee Decoded: The Science of “Dialing-In” — Specialty Coffee Association
- [4]Influence of Flow Rate, Particle Size, and Temperature on Espresso Extraction Kinetics — Foods (MDPI), via PubMed Central
- [5]Influence of the Brewing Temperature on the Taste of Espresso — Foods (MDPI), via PubMed Central
- [6]Influence of water pressure on the final quality of arabica espresso coffee. Application of multivariate analysis — Journal of Agricultural and Food Chemistry, via PubMed
- [7]A Study of Espresso Puck Resistance and How Puck Preparation Affects it — Coffee ad Astra (Jonathan Gagné)
- [8]The role of fines in espresso extraction dynamics — Scientific Reports, via PubMed Central
- [9]Strategies to mitigate electrostatic charging during coffee grinding — iScience, via PubMed Central
- [10]Coffee Decoded: What Makes Coffee Bitter? — Specialty Coffee Association
Discussion
What do you think?
No discussions yet.
Own this article? Ask a question or share your recipe — you’ll be the first.